How to build a cubby wall shelf from cedar fence pickets! Free plans from Ana-White.com
About Project
Well, I must say, I think I've been spotted in Carhartts and work boots one too many times ... because a big box came in the mail the other day and had me squealing with delight.

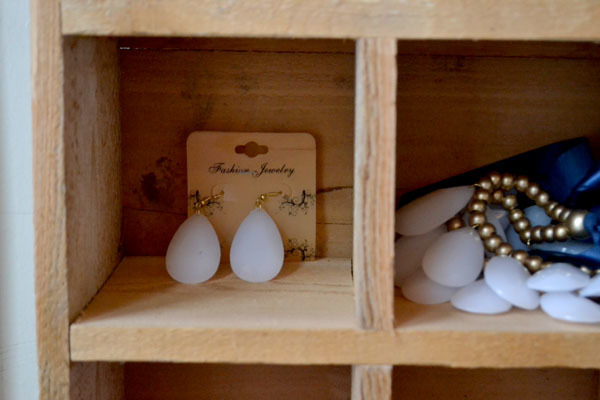
My cousin Angela owns Bedazzled Boutique, a trendy online jewelry and fashion store where you can buy a bubble necklace for not $150 (I love JCrew too, but come on, who can afford that?)

And she's got very reasonable prices on a whole lot more than the bubble necklace! I loved so much of her jewelry, I ended up ordering more than I could store!
So what's any gal to do?
Why, get her saw out and start cutting fence pickets, of course!

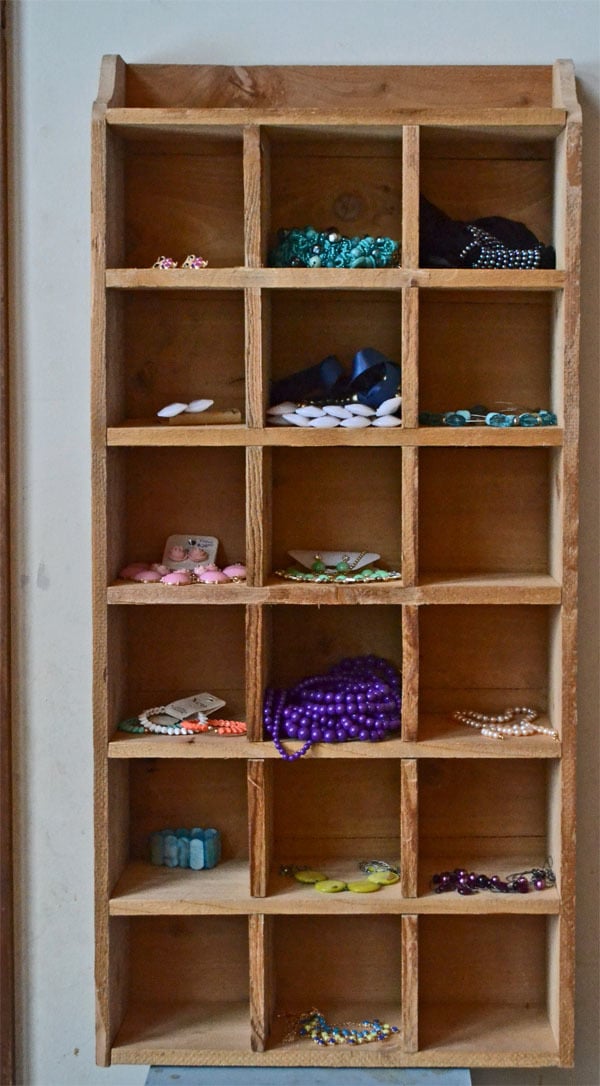
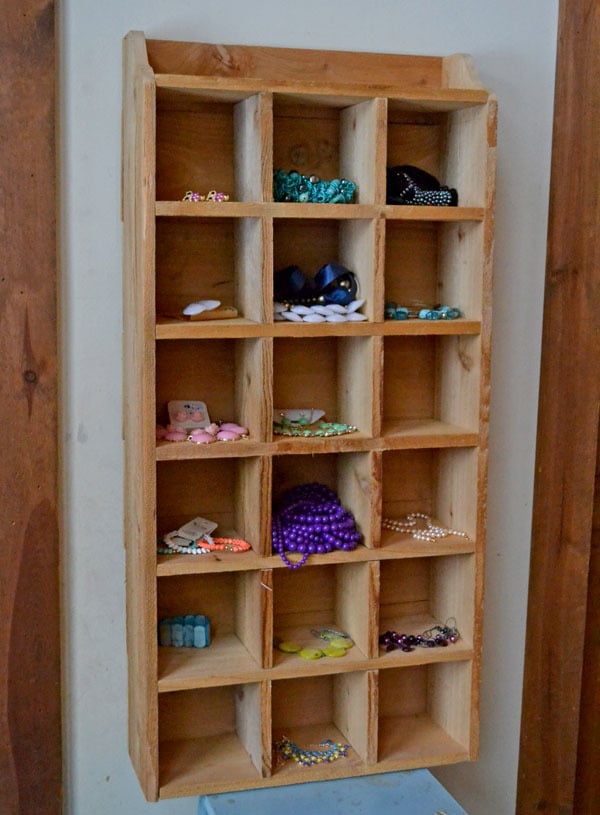
A couple of hours, a big pile of sawdust later, and I turned 6 Fence Pickets (that I purchased for $1.65 each) into this!!!! Not bad for less than $10 in lumber!

The plan is to hang the cubby wall shelf system up in my bathroom, but due to lighting issues in Alaska right now, I photographed the project on an empty wall space. The fence pickets were far from perfect - going on two years laying in a pile in my lean-to, but I loved the character they brought to this piece, imperfections especially! And I don't know if I'll add stain or paint.

I just kinda love the raw wood. It is beautiful.

But then again, what doesn't look good with these pretty accessories?

Okay, that might be a stretch! Fence pickets are much prettier than Carhartts!
For this project, I choose to notch full length shelves instead of attaching little shelves or dividers. I really thought this part was going to be tough, but it ended up being super easy - maybe even easier than cutting a bunch of tiny little 5" long shelves and certainly easier than trying to attach all those little shelves. And the finished look is much better because everything lines up perfectly and there's no nail or screw holes to hide!
What I did first was mark the notches out on the boards. I made the notches a tiny bit past the half way point of the board just to give me a wiggle room.
Then I clamped multiple boards down, with cut overhanging my work table. Here I've got two boards clamped, and actually got away with cutting three as well.
Then I cut on the line with my jigsaw. I cut on the line just to give me some wiggle room when fitting the shelves together, but for more precision, you can cut inside the line, and then sand notches to get to work together seamlessly.
Notice that I only cut the side lines.
To finish the cut, I simply used a 1/2" wide chisel and gave it a quick tap and the pieces fell right out. You could also use a flat screwdriver. Remember, this part is hidden inside the project.
Once you have the pieces all cut out, well, it's time to start assembly! Follow the plans below and you'll be on your way to the cutest little cubby shelf ever ... for about $10 in .... yep, fence pickets!
Happy Building!
Ana
PS - Hope you take a second to meet my cousin Angela and check out her beautiful boutique!
