Hi everyone!!!
Thanks so much for all the love on the new back2school shelves I made for my kiddos!

So exciting seeing some of you make them already too!!! Thank you so much for sharing your photos - totally made my day!
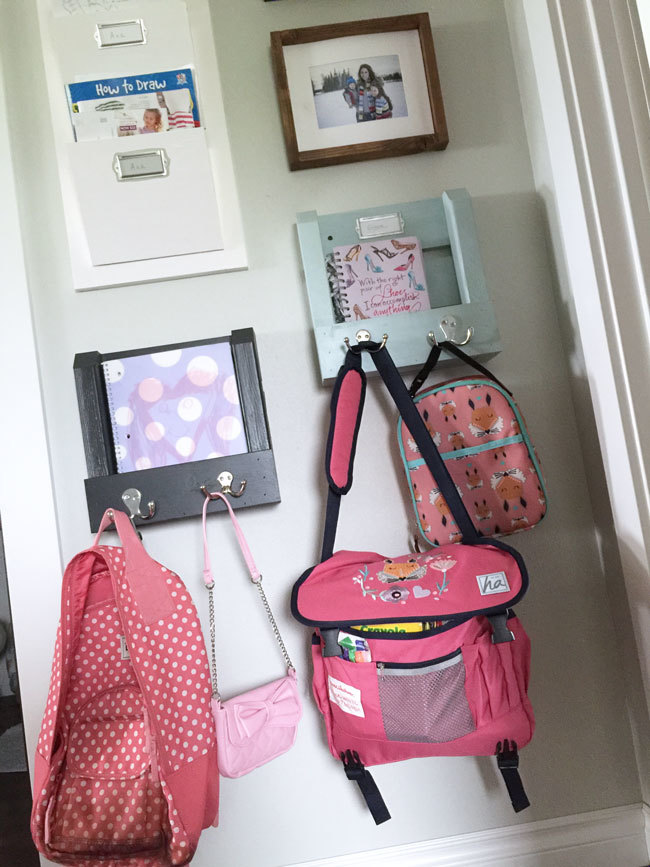
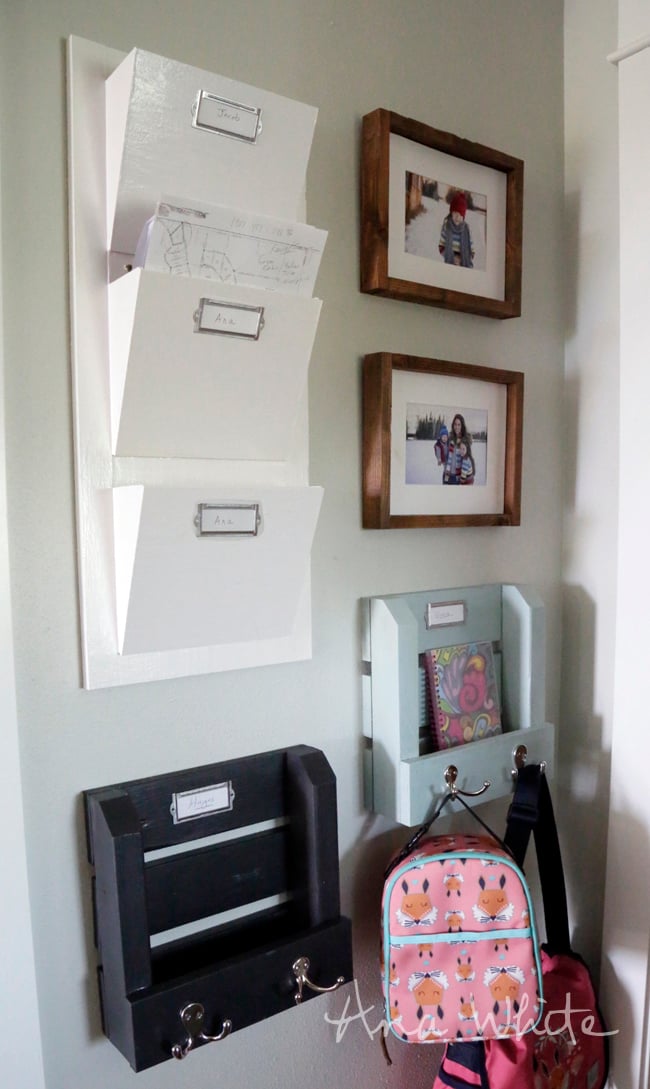
Here's what our shelves look like this morning - loaded with school supplies, taken over by sister. All ready for school next week! It sure feels good to make something that is loved by my family!
She's even taken over the wall bins that I made! At least the shelves that she can reach!
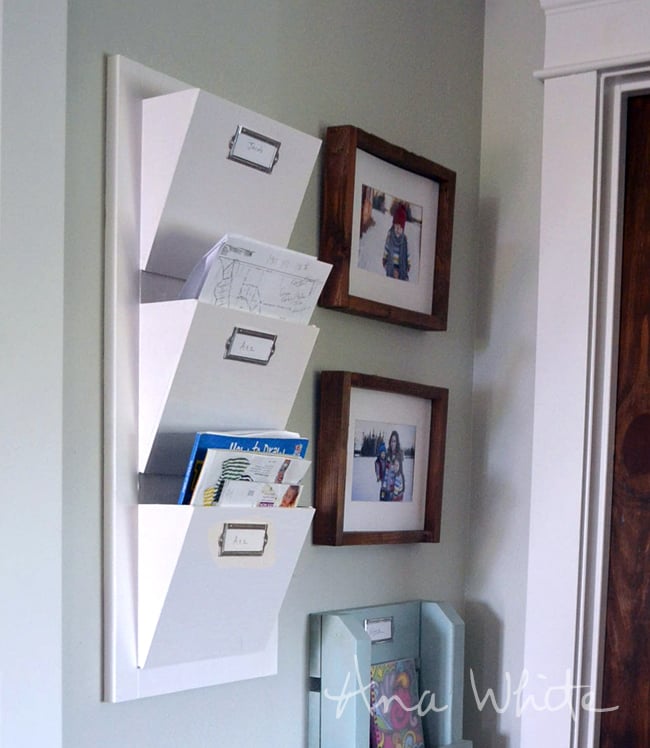
Yep, those are, of course, DIY too! And in this post, I'm going to share how I made them with you and the detailed plans! Check it out ....
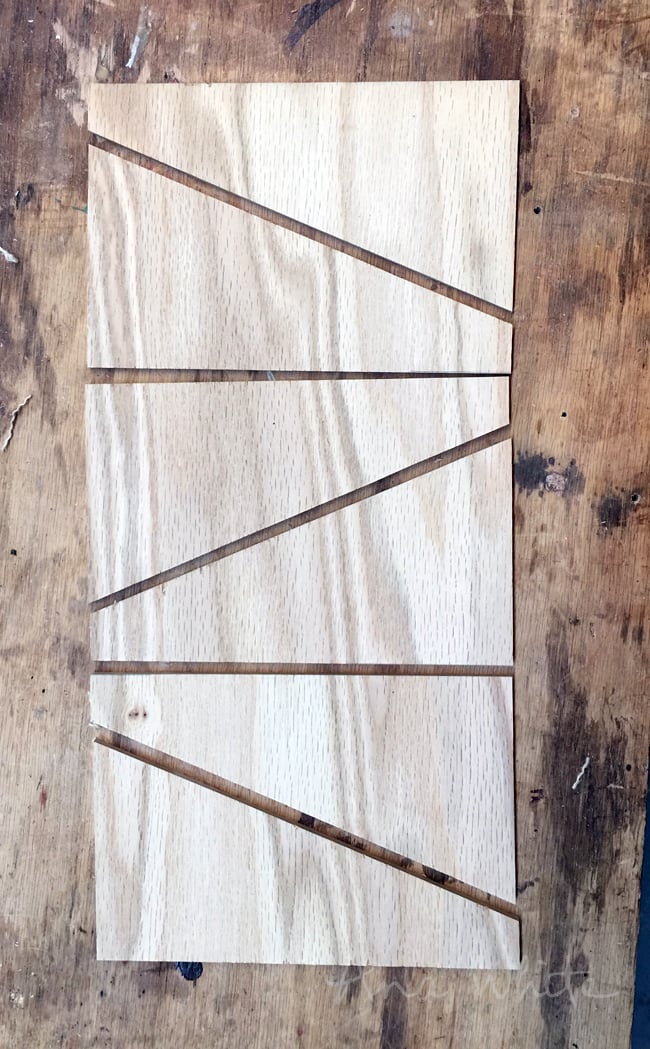
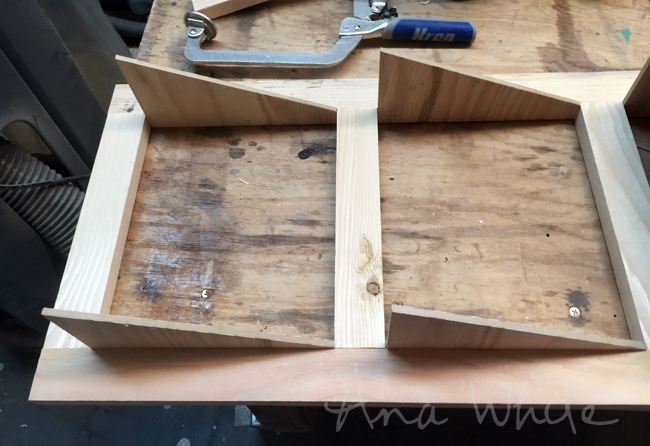
This project is made of 1/4" plywood and 1x2s. The 1x2s are simple enough to cut, but the plywood can be a bit more of a challenge. What I did was cut a piece of plywood 7-1/4" wide by 16" long, and then set my mitersaw at a 25 degree angle, and then made all the angled cuts that way. This saved a ton of time and helped me get nice straight cuts. Be careful making these cuts - might I suggest clamping the plywood to the saw deck - especially when cutting the smaller pieces.
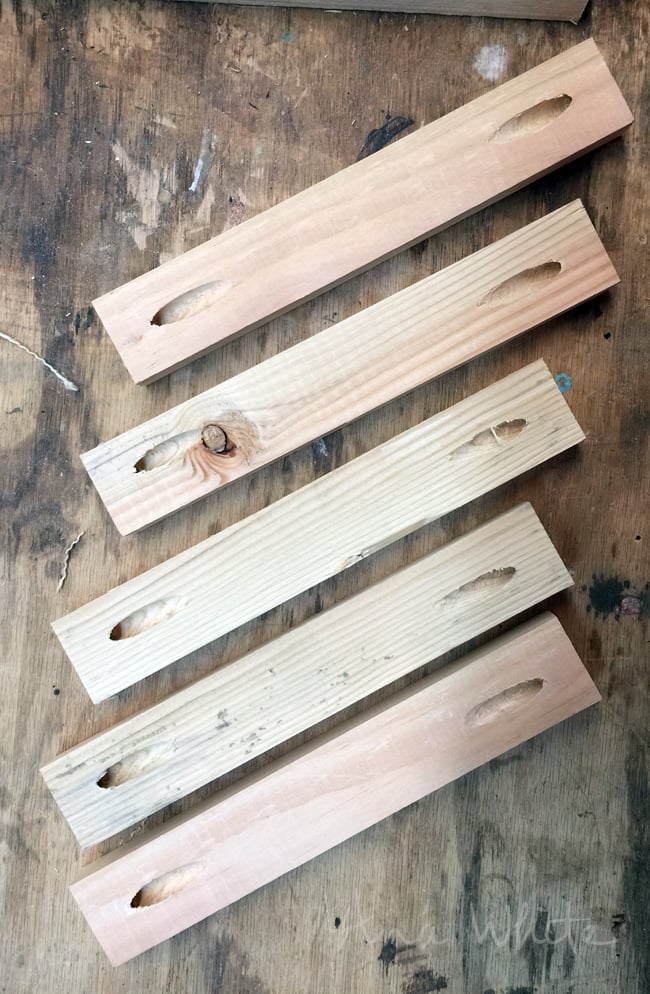
For the frame part, it's just 1x2s. I drilled a single pocket hole with my Kreg Jig on each end of the shorter 1x2 boards.
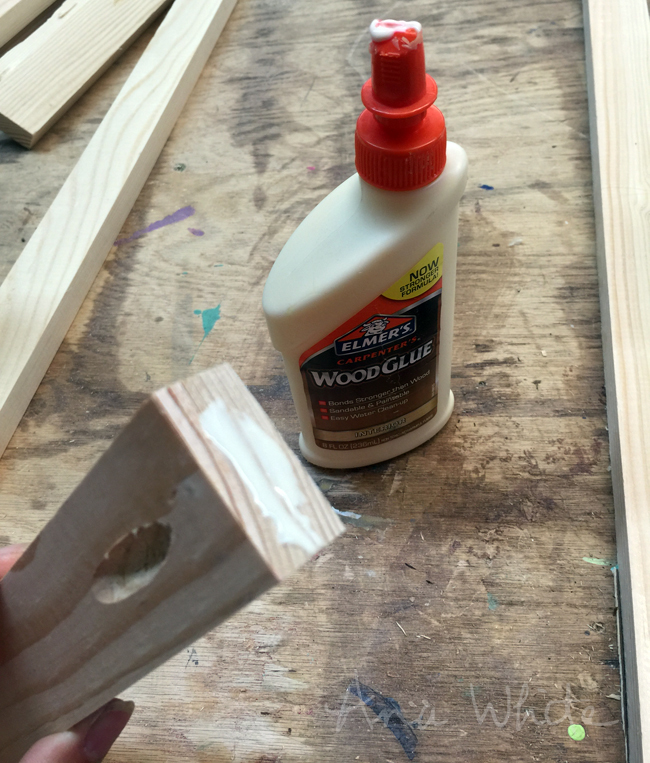
With the single pocket hole, you have to use glue so the joint won't twist on you.
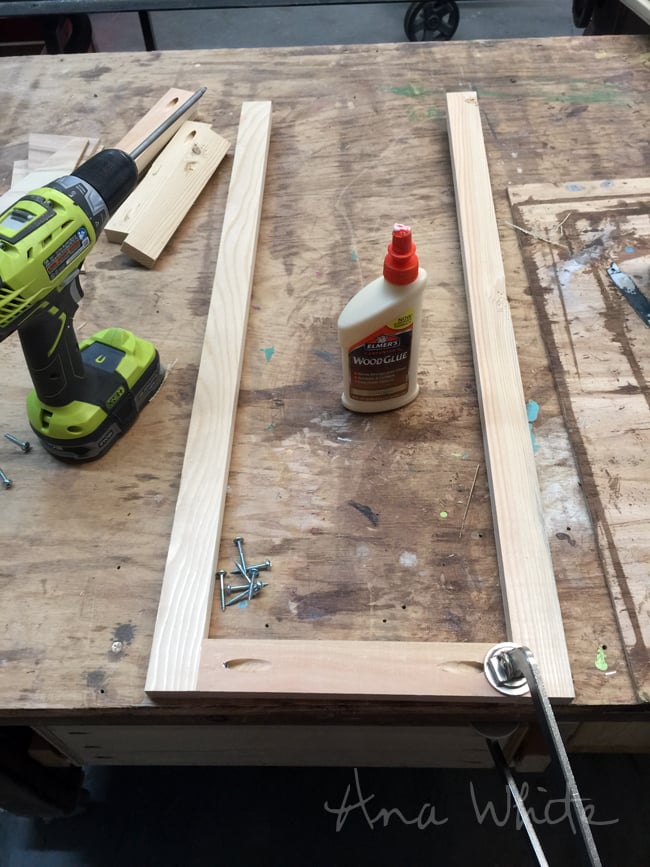
Then I just clamped and screwed the joints. I then added more of the shorter 1x2s to make up the frame.
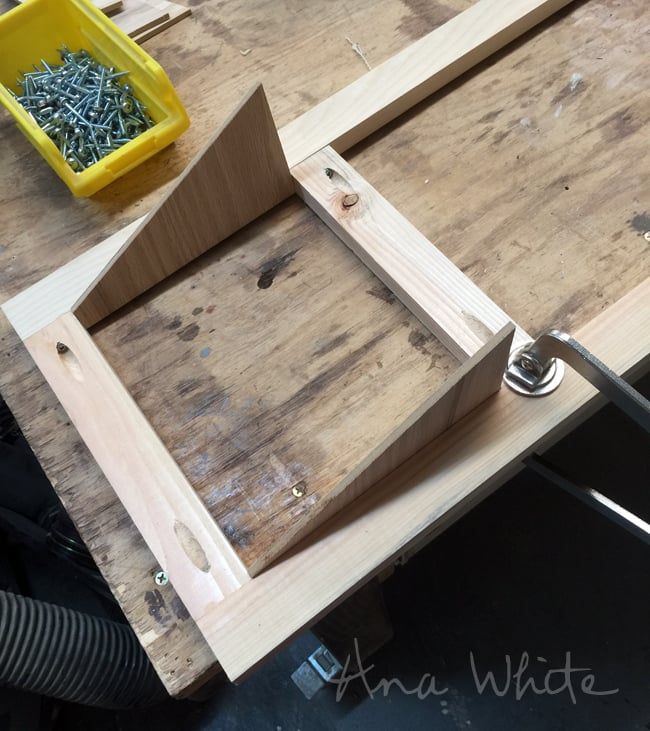
I used the side 1/4" plywood pieces as spacers to help guide the placement of the 1x2s. This saved time measuring.
After I made the frame, I flipped it over so the pocket holes are on the back side. Then I glued and nailed (1" brad nails or staples) the side pieces to the insides of the frame.
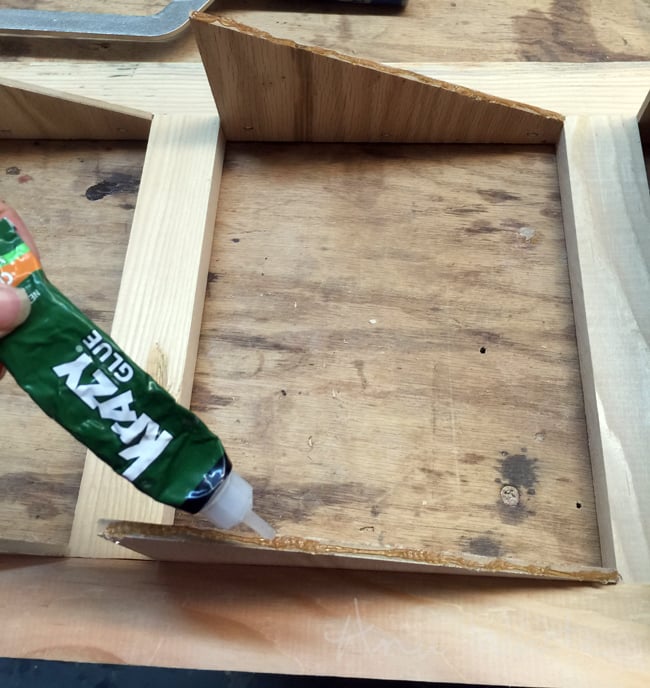
For the fronts of the mail bin pieces, I used Krazy craft glue to add the front.

That's it!
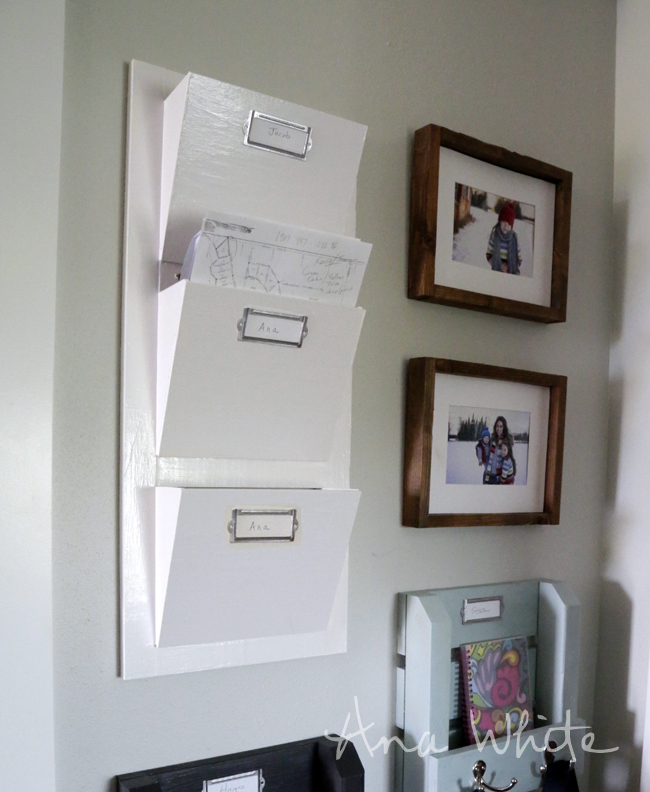
Very useful and functional, all made for free with scrap wood!
Your turn!
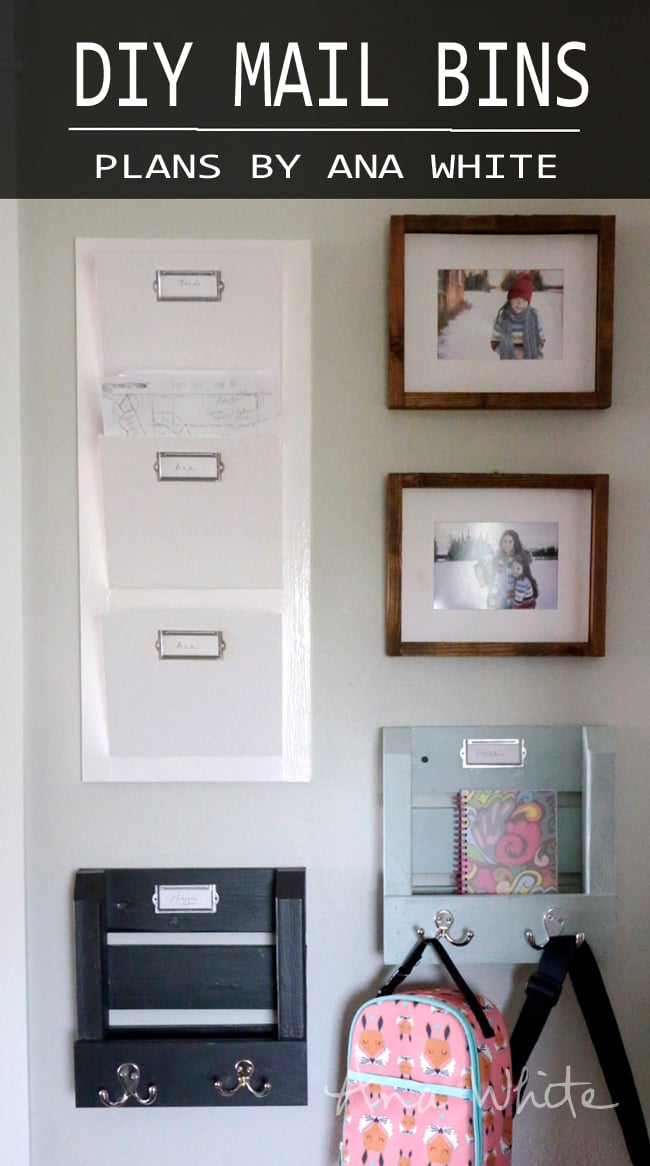
Please pin, share, and build!
PS - This project was very similar (and inspired by) this mail bin chalkboard organizer with pin board I did a little while back -
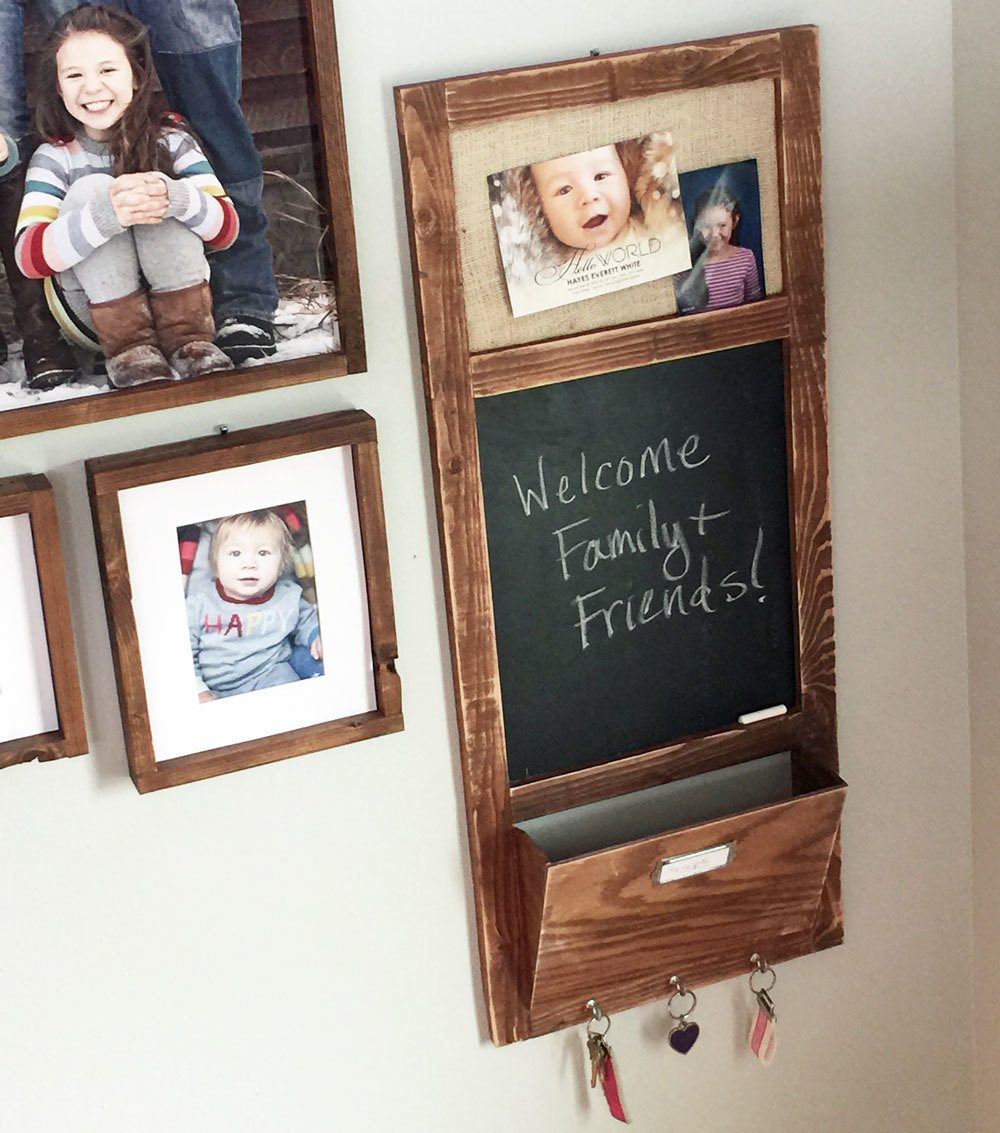
It follows alot of the same steps - so take a look at this video tutorial too!
Can't wait to see how you build yours!
XO Ana